Installation & First Setup
This page covers system requirements, installation, first launch, and hardware connection.
System Requirements
Installation
- Download the current OpenShack installer (EXE) from the link you received.
- Run the installer. It includes the CP2102 USB driver and the .NET Desktop Runtime.
- Launch OpenShack. If you do not
see the icon, press the Windows key and type
OpenShack.
- If you have received a license key, activate it under Settings → Settings → License. See Licensing below for details.
- The COM port is normally detected automatically. If you hear an "R" from the Box, it has been found. You can check the selected COM port in File → Hardware.
Running a fixed remote station? OpenShack can create extra shortcuts — Start menu, Desktop, or auto-start with Windows — that open the remote station and connect automatically, handy for unattended host or client PCs. They are optional and set up from inside the app; see Start Directly into Remote Station. For PCs that should recover after a reboot without anyone signing in, also see Windows Auto Logon.
First Launch — The Dashboard
After installation, OpenShack opens the main dashboard. Features are grouped into four main menus. Click a menu button to open its submenu.
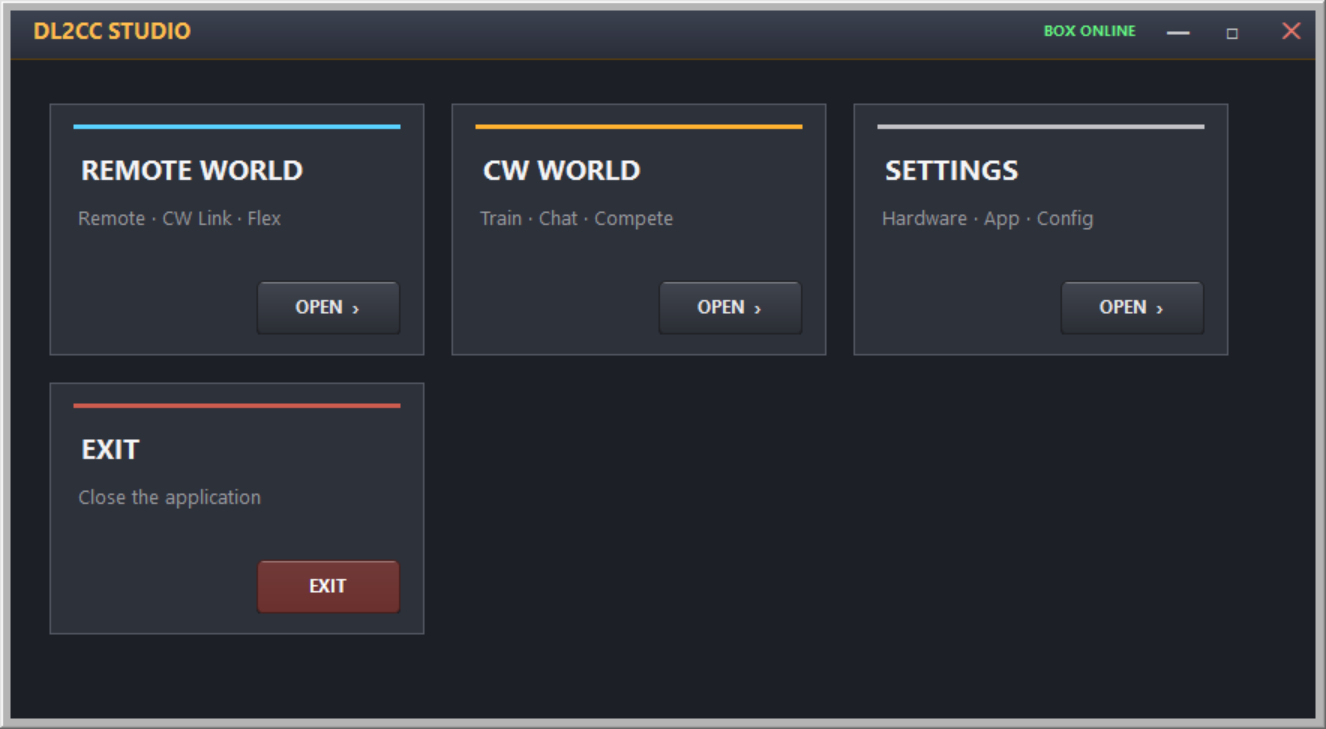
OpenShack Main Dashboard — menu areas: Remote, CW, Operate, and Tools & Settings
Dashboard Menus
Each top-level button opens a submenu with the relevant features:
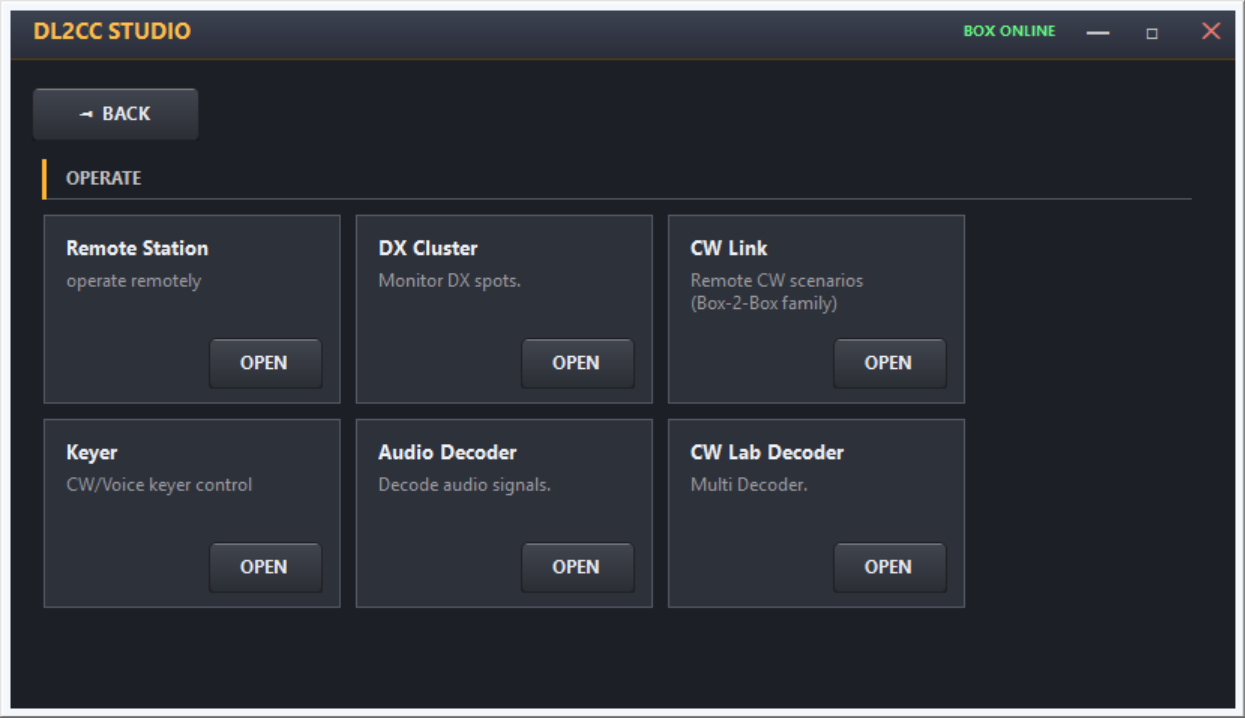
Remote submenu — Station, DX Cluster, Audio, Keyer
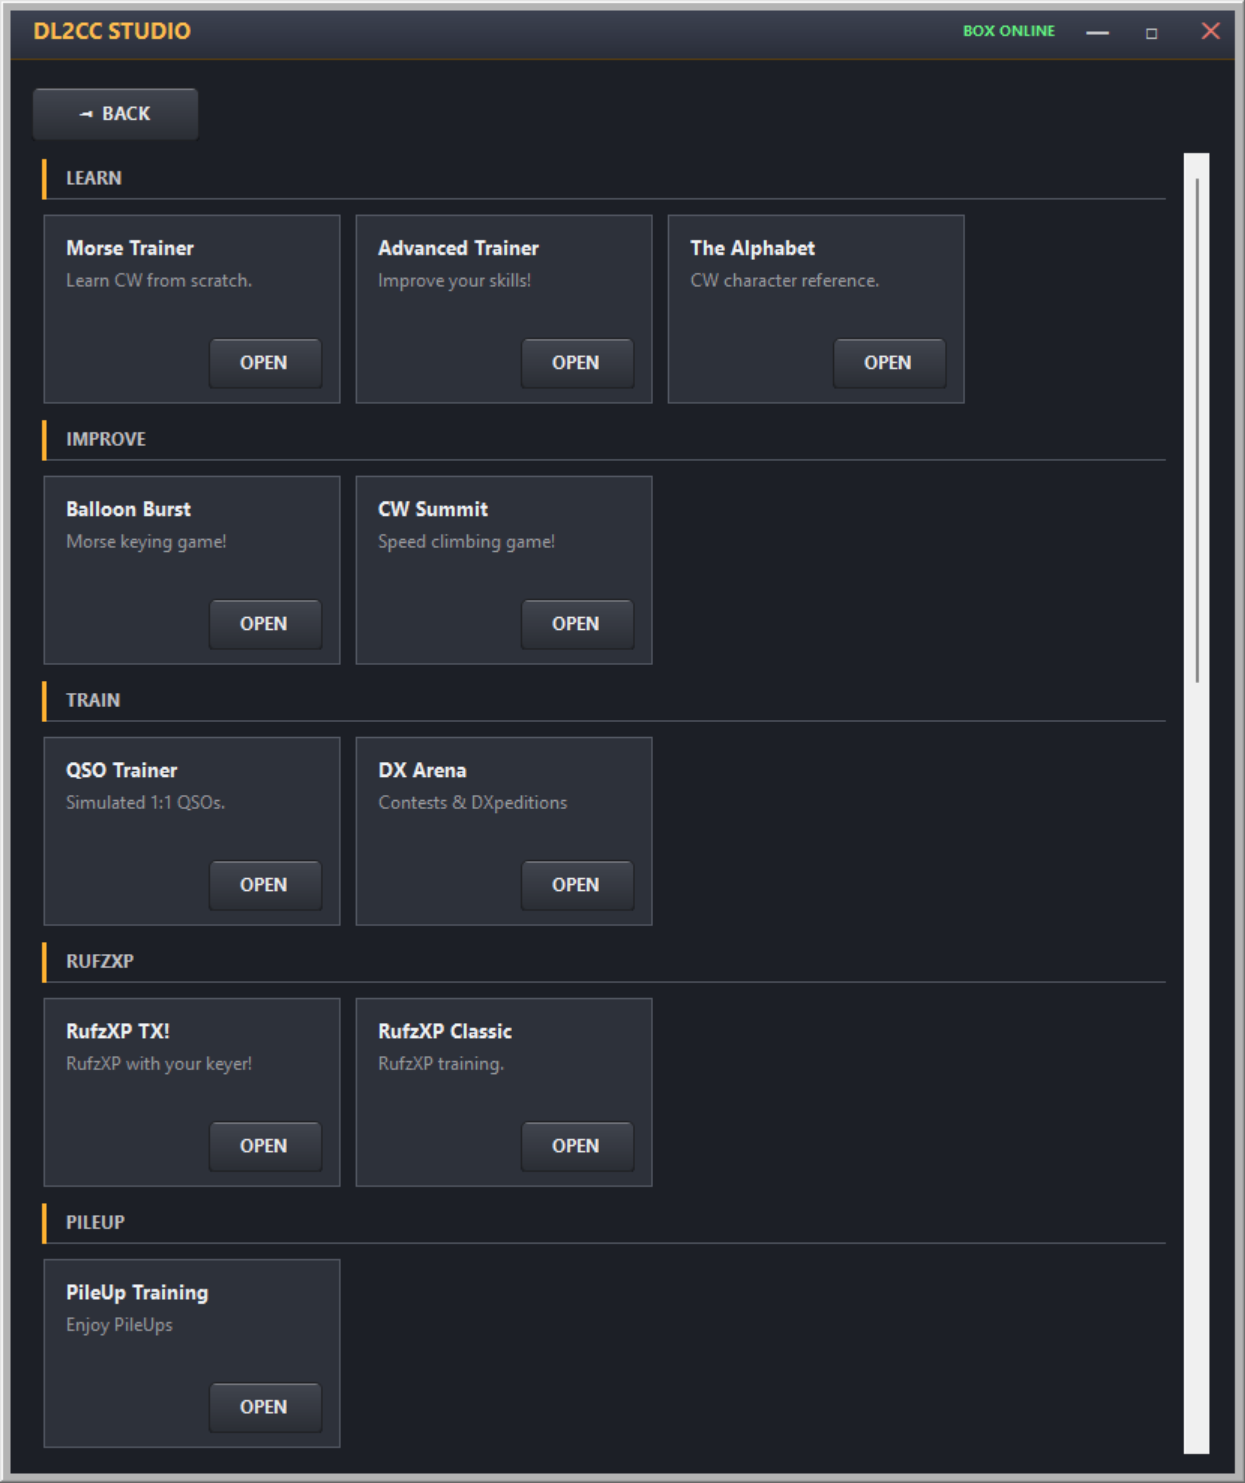
CW menu (1 of 2) — Learn, Improve, Train, RufzXP and PileUp
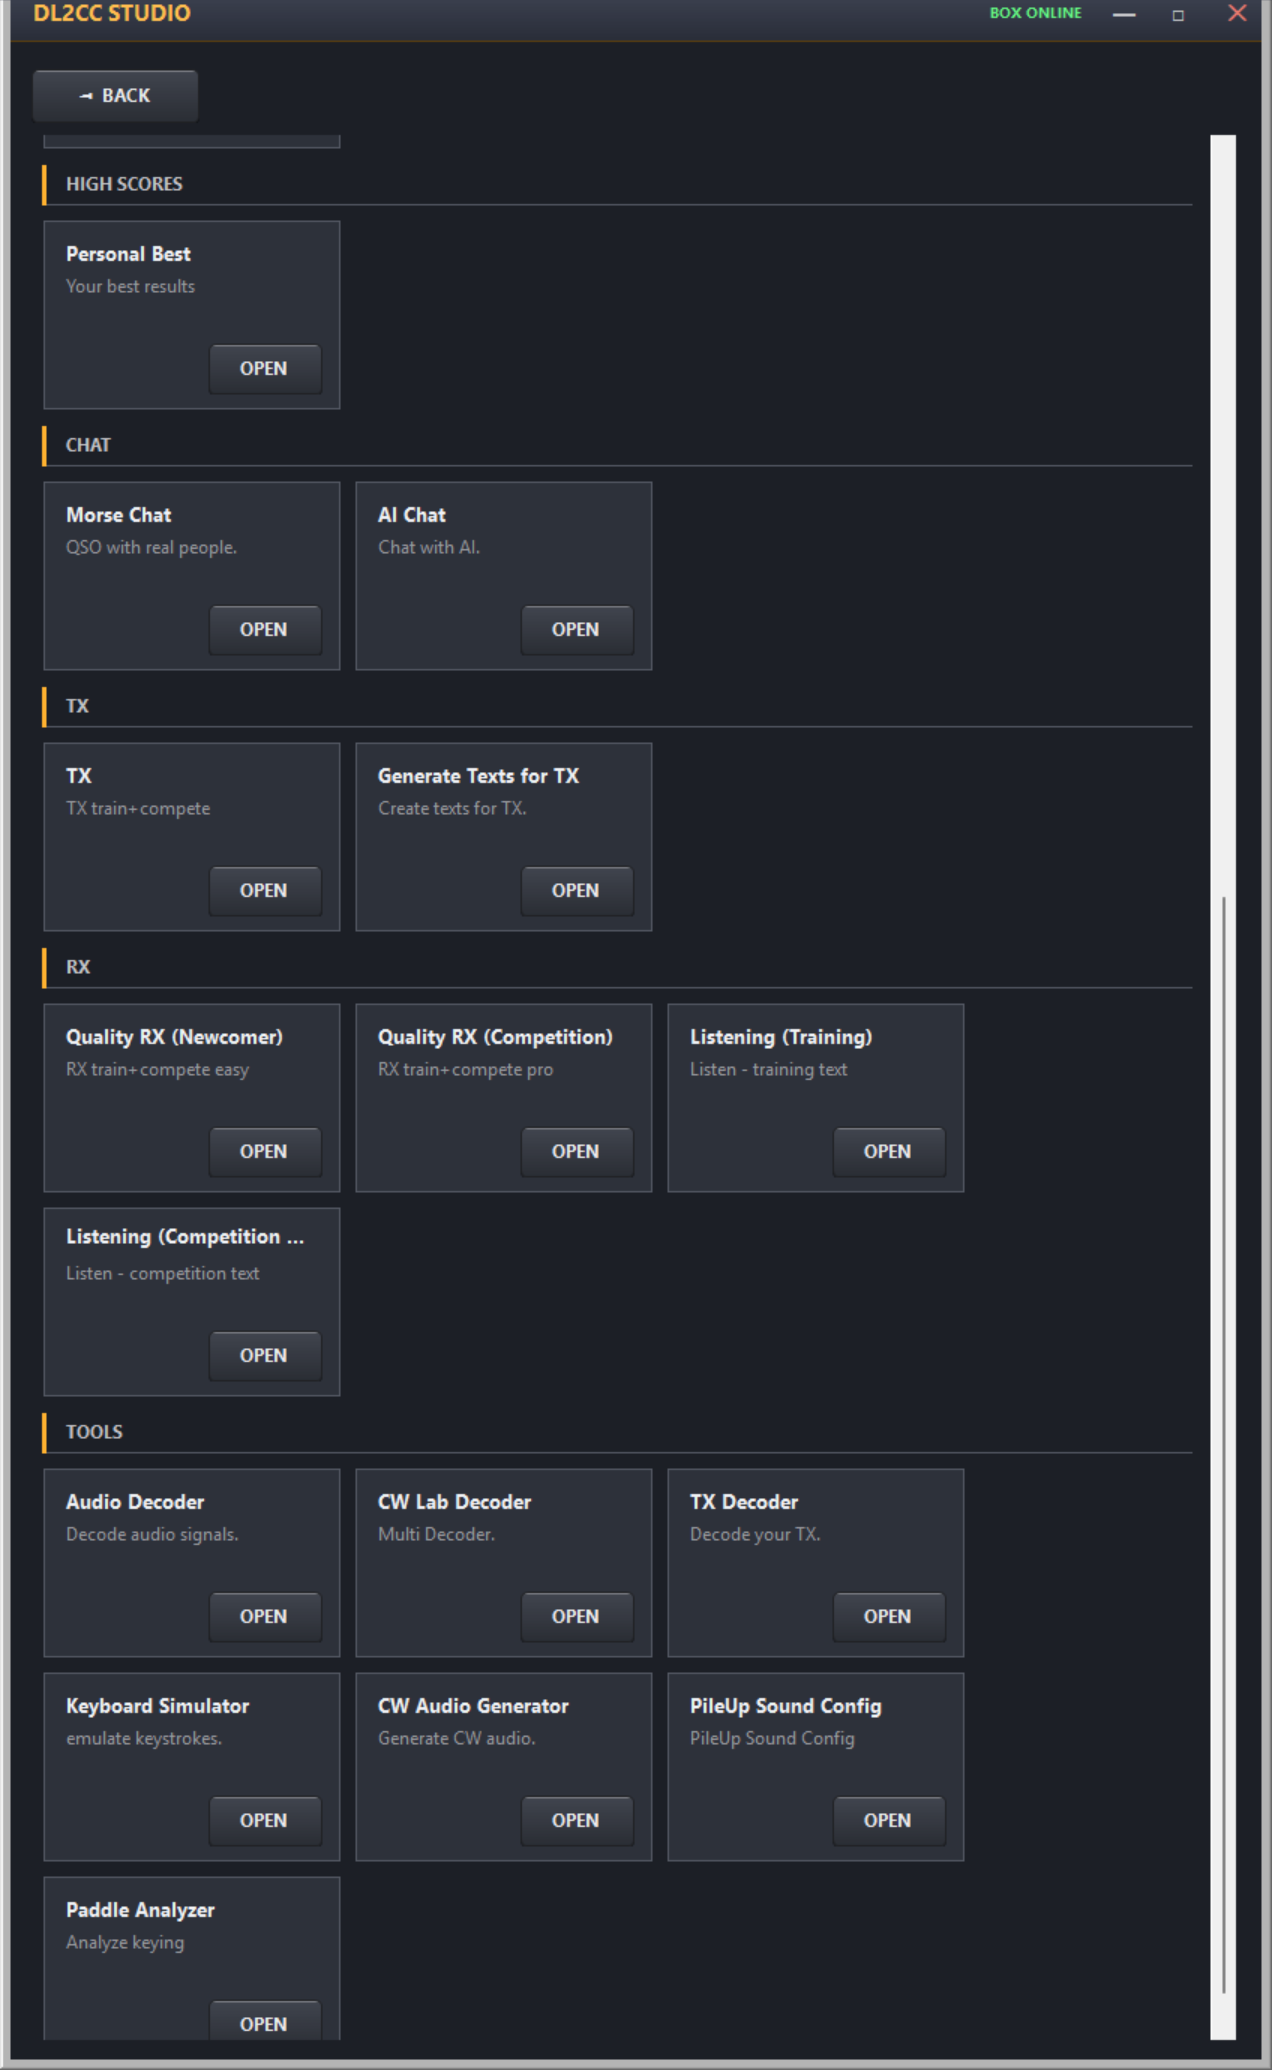
CW menu (2 of 2) — High Scores, Chat, TX, RX and Tools
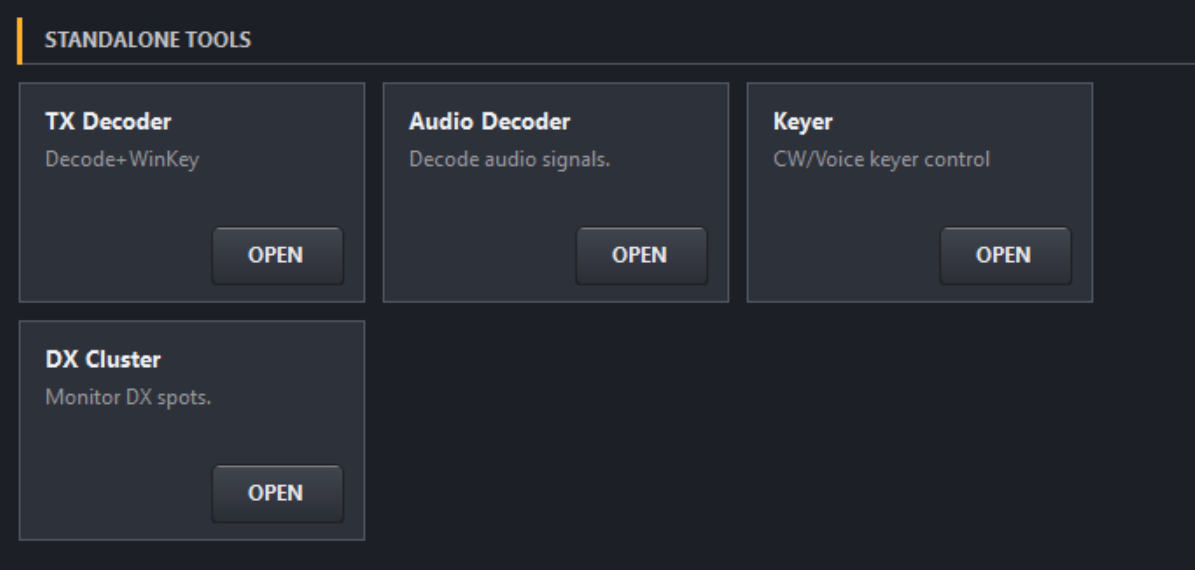
Operate submenu — standalone tools: TX Decoder, Audio Decoder, Keyer, DX Cluster (see Standalone Operating)
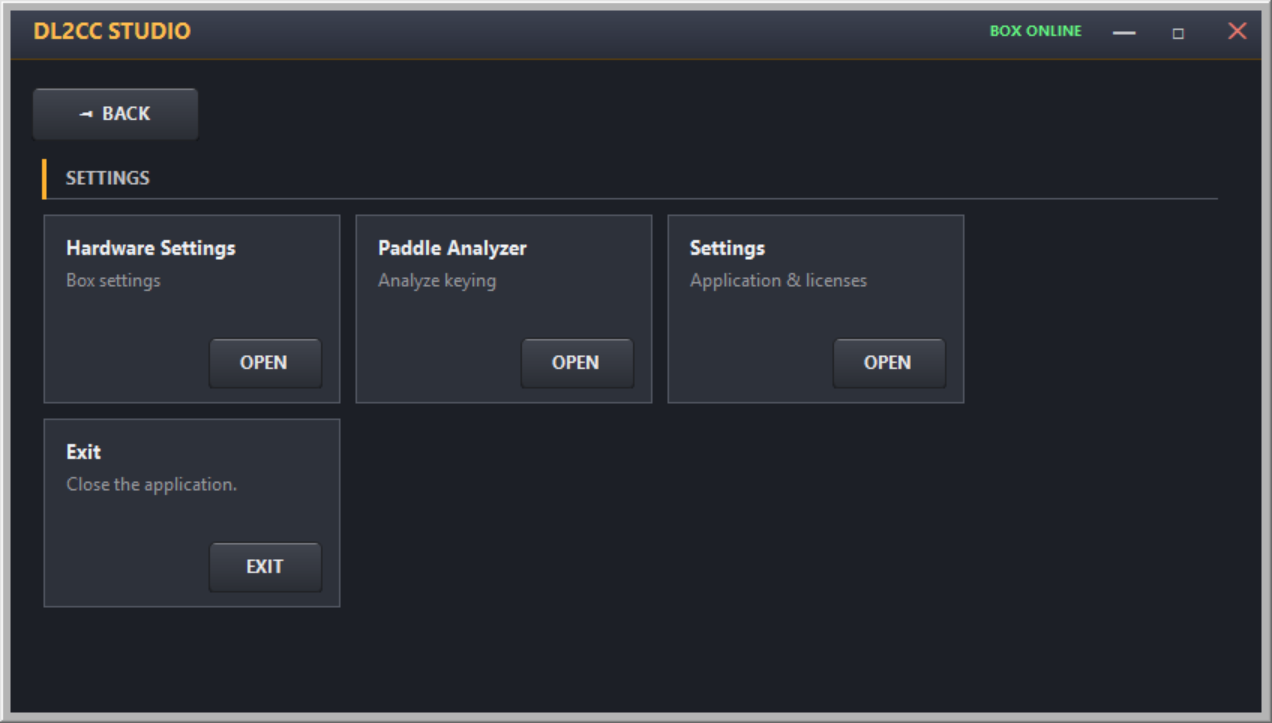
Settings menu — Hardware Settings, Paddle Analyzer, application settings and Exit
Dashboard Overview
| Menu | Group | Modules inside |
|---|---|---|
| Remote | Operate | Remote Station, DX Cluster, Keyer, Audio Decoder |
| Operate | Standalone Tools | TX Decoder (with logger via Winkey), Audio Decoder, Keyer, DX Cluster — see Standalone Operating |
| CW | Learn | Morse Trainer (Koch method) |
| Improve | Advanced Trainer (full character set, groups, words) | |
| Chat | Morse Chat (live operators), AI Chat | |
| High Scores | See your best results | |
| PileUp | PileUp Trainer | |
| RufzXP | RufzXP TX (with keyer), RufzXP Classic (keyboard) — hear callsigns and send back | |
| TX | TX Trainer, Text Generator | |
| RX | Quality RX (Newcomer & Competition), Listening | |
| Tools & Settings | Tools | TX Decoder, Keyboard Simulator, CW Audio Generator |
| File | Hardware Settings, Network Box (pair your Box with the web trainers — shown without a Remote license), Paddle Analyzer, Settings, Exit |
Application Settings
Open Settings → Settings from the dashboard to configure global settings. The License tab is shown first.
Licensing
OpenShack uses license codes to unlock feature sets. Each code is activated on one specific machine and is tied to your Machine ID. You can deactivate a license at any time to free the slot and move it to another PC.
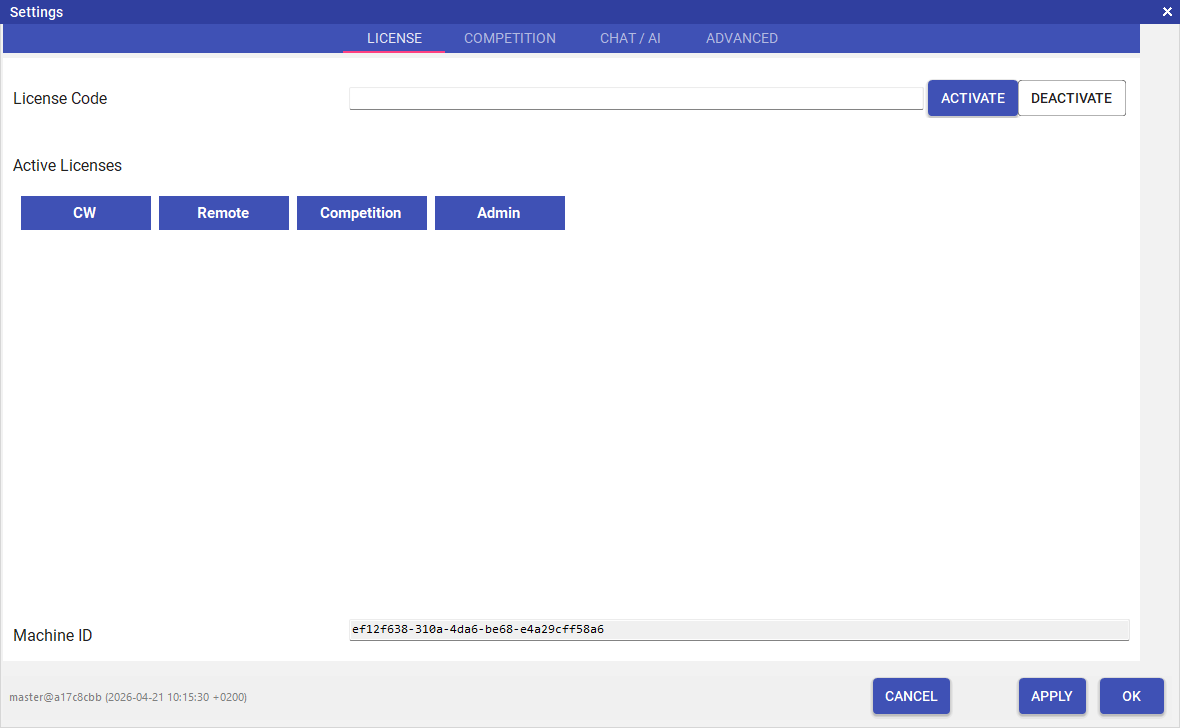
Settings — License tab: enter a license code and click Activate. Active licenses appear as badges. Your Machine ID is shown at the bottom.
License Types
| License | What it unlocks |
|---|---|
| CW | Everything for learning, training, and mastering CW: the Lessons and Advanced trainers, PileUp and RufzXP, TX and RX quality tools, the CW Audio Decoder, and Live Morse Chat with the AI partner. |
| Remote | Put your station online in any mode — CW, SSB, and digital: Remote Station with remote audio, CAT & rigctld, CW & PTT relay, TRX Emulator, DX Cluster, waterfall, rotator, and amplifier/tuner/antenna control. A one-time lifetime license — needed on both the host and the client side. |
| Remote Host Connect | Keeps a host station reachable through the DL2CC connection and relay service. The first year is included with every Remote license; after that, only the host needs a yearly Remote Host Connect renewal — clients never need it. |
Activating a License
- Open Settings → Settings from the dashboard.
- The License tab is shown by default.
- Paste or type your license code into the License Code field.
- Click Activate.
- The newly activated license type appears as a badge in the Active Licenses area. Multiple licenses can be active at the same time.
Deactivating (Revoking) a License
Deactivating releases the activation slot so you can move the license to a different machine.
- Open Settings → Settings → License.
- Enter the license code you want to remove in the License Code field.
- Click Deactivate.
- The corresponding badge disappears from Active Licenses.
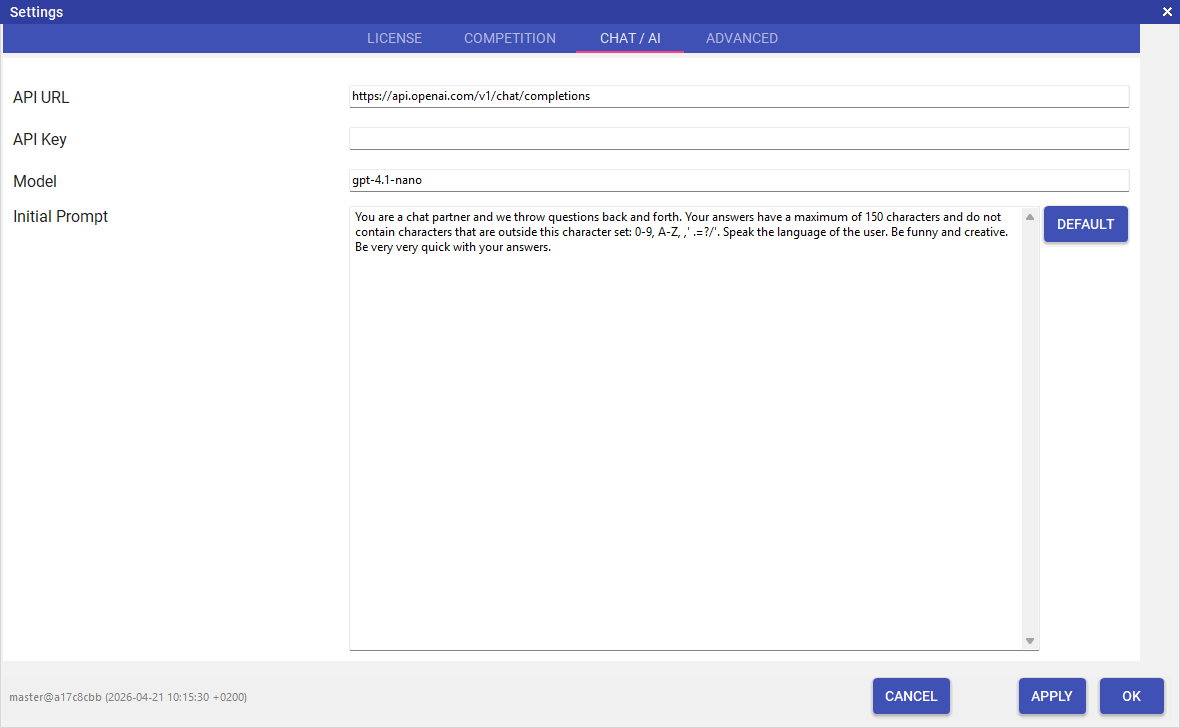
Settings — Chat / AI tab: OpenAI API key and chat preferences. A limited number of messages is included for testing. If you want to use the feature regularly, add your own OpenAI key here (https://platform.openai.com/api-keys).
Appearance and Theme
Open the Theme tab to change the application's appearance. Select Bright for a light window, card, and control palette. Radio readouts, waterfall and spectrum displays, and some game or trainer canvases deliberately stay dark for contrast.
Clear (Recommended) keeps the familiar balanced dark appearance. Classic, Soft, and High Contrast provide alternative dark profiles. Moving a visibility slider or changing the tone or accent creates a Custom profile based on the selected dark or bright profile.
Finding the Local Data Folder
OpenShack stores user-editable files, generated settings, window layouts, and imported data in its local data folder, which is always located at:
%LOCALAPPDATA%\OpenShack
That expands to C:\Users\<username>\AppData\Local\OpenShack. To open it, paste the
path into the Windows Explorer address bar, or press Win+R, type
%LOCALAPPDATA%\OpenShack and press Enter.
The quickest way is still from inside the app: go to Settings → Settings → Advanced and click DATA. Windows Explorer opens directly in the folder OpenShack is using.
Connecting the OpenShack Box
Most TX-related features require the DL2CC Remote
CW Box connected via USB (COM port) or WiFi
(TCP).
- Connect the Box to your PC with the USB cable. The Silicon Labs CP210x driver is included in the OpenShack installer; if you need it standalone, download it from Silicon Labs. Windows assigns a COM port automatically.
- Optional (OpenShack will normally find the COM port
automatically): Note the assigned COM port number in
Windows Device Manager (e.g.
COM5). - To verify or change the COM port, open File → Hardware Settings.
- On the Connection tab, select your COM
port from the dropdown
- Close Hardware Settings. If you hear an “R” in Morse
from the Box, everything is set up correctly.
COM25 — just set the logger to COM26. Use WiFi when a USB cable to the PC is impractical. To use WiFi,
scan your network in the WiFi tab, double-click a
WiFi SSID, enter your WiFi password, and click APPLY WIFI and
CONNECT. Wait for the box to get its own IP address (shown at the top), then copy the IP address, go back to the CONNECTION tab and enter the IP address there. Click "Connect hardware through TCP" to use WiFi for the Box. See the Hardware Setup page for details.
Tip: When audio quality matters, USB serial is recommended — on the ESP32 + audio codec board the active WiFi radio can add a little noise to the audio path. WiFi is fine for control, but for the cleanest audio and simplest Winkey setup prefer a USB cable.